



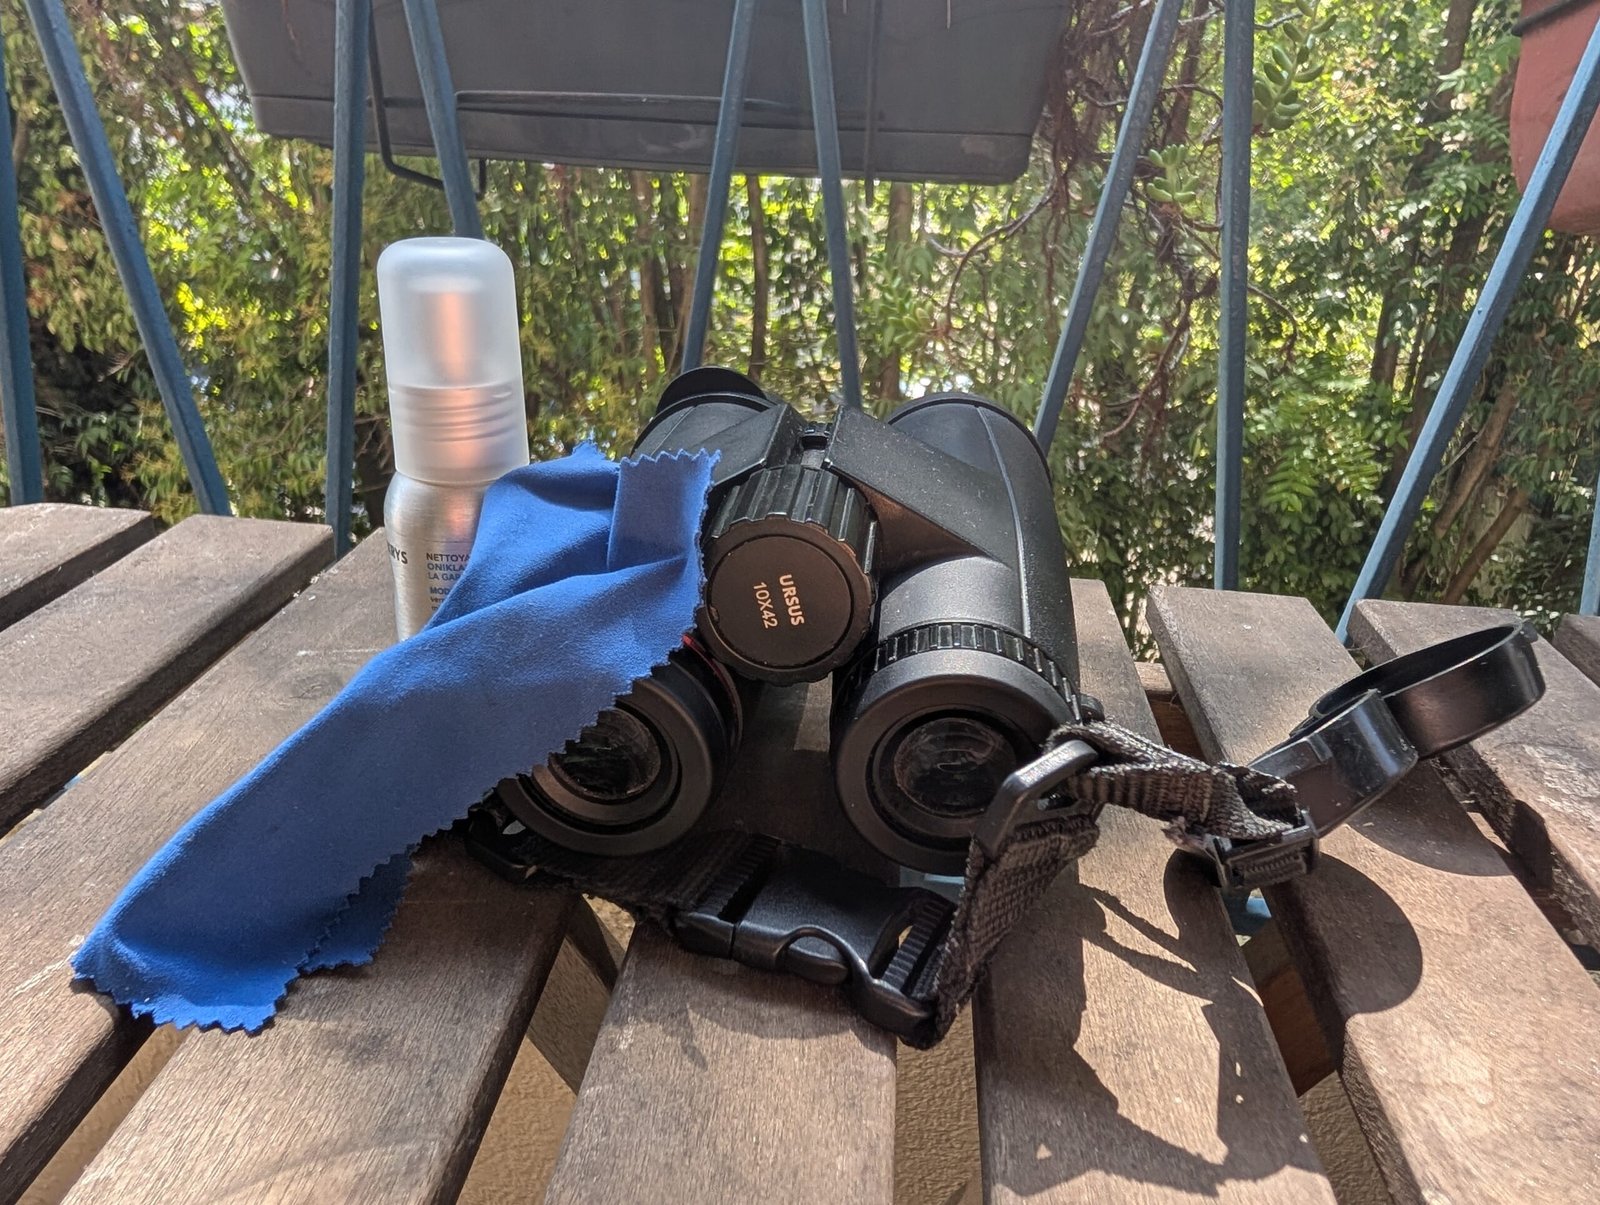
How to clean Binocular Lenses without damaging them?
It would be a shame to own a pair of binoculars worth several hundred (or even several thousand) euros and not take proper care of them, wouldn’t it? Yet we rarely scratch our lenses intentionally. It usually happens through laziness, rushing, a lack of attention, or simply because we don’t know the right techniques. Wiping a lens covered in dust, quickly using a T-shirt to remove a fingerprint, or cleaning it with the wrong product can all lead to the first micro-scratches appearing. Over time, these tiny scratches can become permanent marks on the glass. In this article, I’ll explain how to properly care for and clean your binocular lenses without damaging them. Some of these practices may seem obvious to experienced users, but they’re not always followed. The result? Scratched lenses that can eventually affect the optical performance of your Swarovski, Leica, Zeiss, or Nikon binoculars.
Why do binocular lenses get dirty so quickly?
Before talking about cleaning, it’s worth understanding what actually gets your binocular lenses dirty. Contrary to what you might think, dust isn’t always the main culprit.
Fingerprints and Handling Marks
This is probably the most common cause. All it takes is accidentally placing a finger on an objective lens while quickly picking up your binoculars or putting them back in their case. Lenses can also get dirty through contact with your face. Your eyebrows and the skin around your eyes naturally produce sebum, a thin oily substance that can easily build up on the eyepieces during long birdwatching sessions.
Finally, repeated handling, such as adjusting the interpupillary distance, focusing, quickly changing position, or simply carrying your binoculars, increases the risk of accidentally touching the optics.
Moisture
Rain, condensation, and sea spray can also affect your lenses. Water itself generally doesn’t damage modern optical coatings. However, when it dries, it can leave mineral deposits or a thin film that slightly reduces image clarity.
By the sea, water droplets can also leave salt deposits, which can be particularly problematic if the lenses aren’t properly rinsed or cleaned.
Dust and Sand
This is probably the biggest risk. Dust particles, and especially grains of sand, are highly abrasive. To the naked eye, a lens may simply look dusty. However, if you rub it directly with a cloth or wipe, these particles can become trapped between the fabric and the glass, acting like very fine sandpaper.
The damage is often invisible at first, but micro-scratches gradually accumulate over repeated cleanings. And unlike fingerprints or dust, a scratch never disappears.
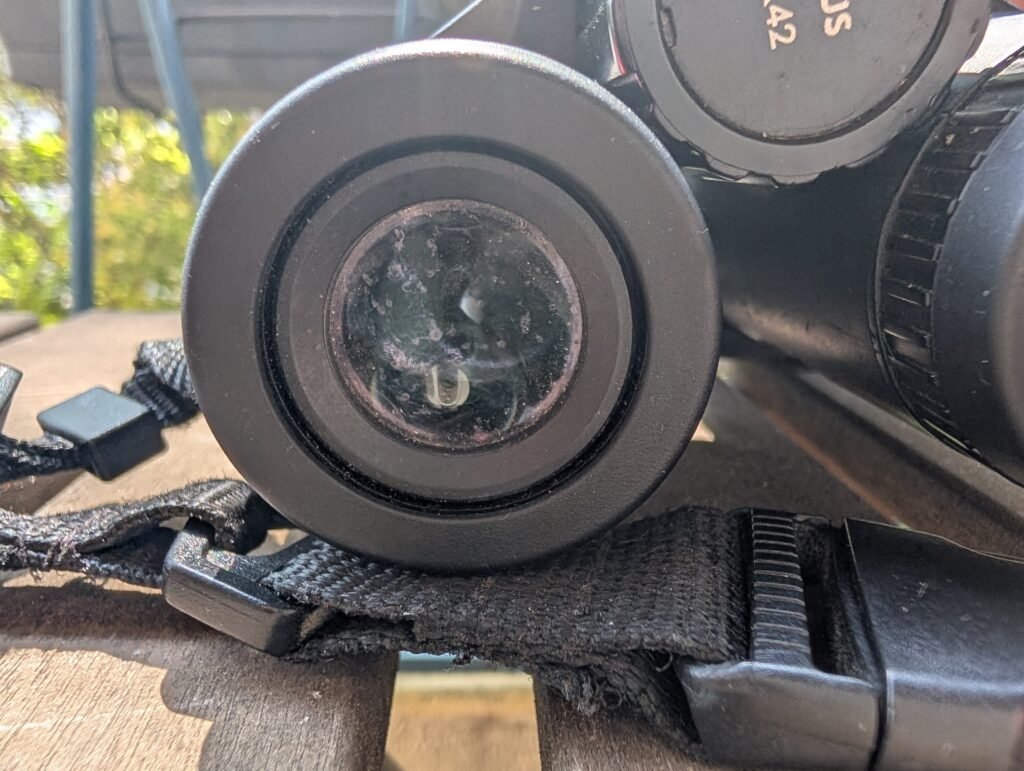
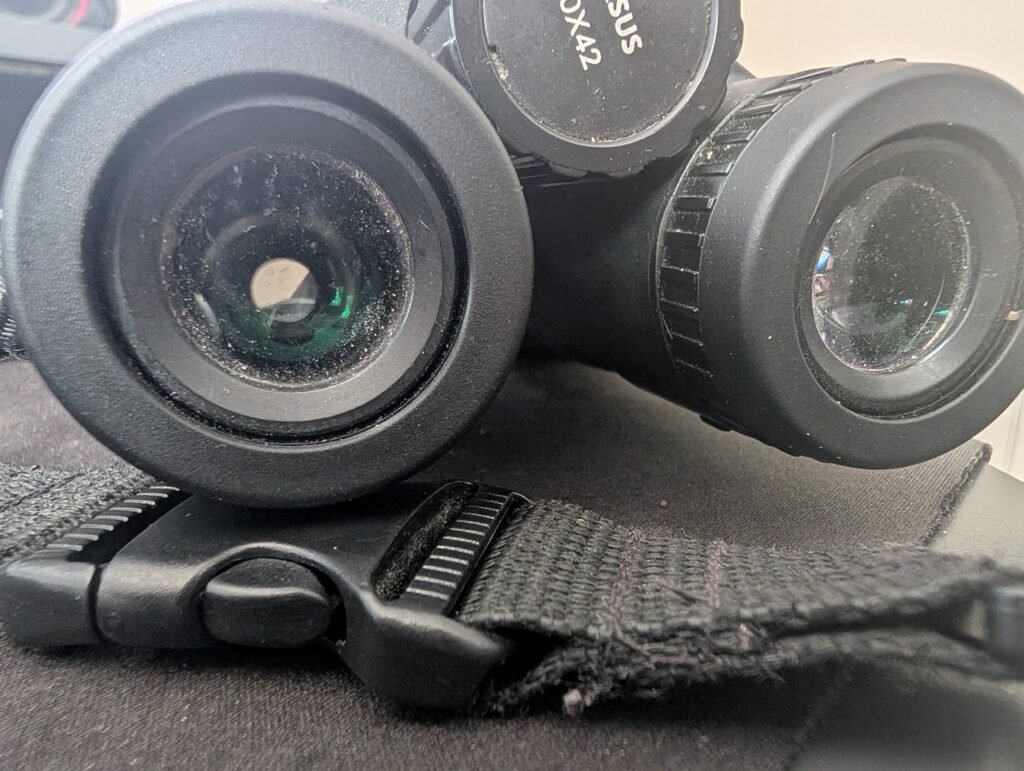
The Mistakes (Almost) Everyone Makes
I think we’ve all made them at some point… myself included. When your binocular lenses are dirty or covered in condensation, it’s ultimately not a big deal. The image may simply be less enjoyable to look at. A scratch, on the other hand, is permanent. Once it’s there, there’s no way to make it disappear. In the end, the real danger is cleaning your lenses at the wrong time or using the wrong technique.
Here are the most common mistakes.
Wiping the Lens Straight Away
This is probably our first instinct. We notice a fingerprint, a water droplet, or a little dust and immediately wipe it away with the first cloth we can find. However, if you don’t have the right equipment or the conditions aren’t suitable, it’s often better to wait and clean your binoculars properly later. Of course, when you’re out birdwatching and in the middle of an observation, that’s easier said than done…
The problem is simple: if a dust particle or grain of sand is sitting on the lens when you start rubbing, it acts as an abrasive. With every movement, it can create a tiny scratch that’s almost invisible to the naked eye. One micro-scratch probably won’t affect image quality. However, dozens of them accumulating over the years can eventually affect the optical performance of your binoculars.
Cleaning With Something Unsuitable
Again, this is a classic mistake. When we don’t have anything better available, we use whatever is at hand: a T-shirt, a jacket sleeve, a tissue, or even the corner of a bag. These materials may feel soft, but they aren’t designed for cleaning optical surfaces. They may contain relatively abrasive fibres or have collected fine dust throughout the day. Rubbing a lens with this type of material can simply damage it. A clean microfiber cloth reserved exclusively for optics will always be a much safer option.
Dry Cleaning
A lens should never be rubbed when it’s dry. This recommendation applies not only to binoculars, but also to glasses, spotting scopes, and camera lenses. When cleaning the glass, it’s best to use an appropriate cleaning solution to moisten the surface.
Blowing on the Lens With Your Mouth
This is another very common reflex that should be avoided. We blow on the lens, thinking we’re removing dust before wiping it. In reality, your breath mostly deposits moisture and sometimes tiny droplets of saliva onto the glass. It’s not the most serious problem in the world, but if it can be avoided, that’s even better!
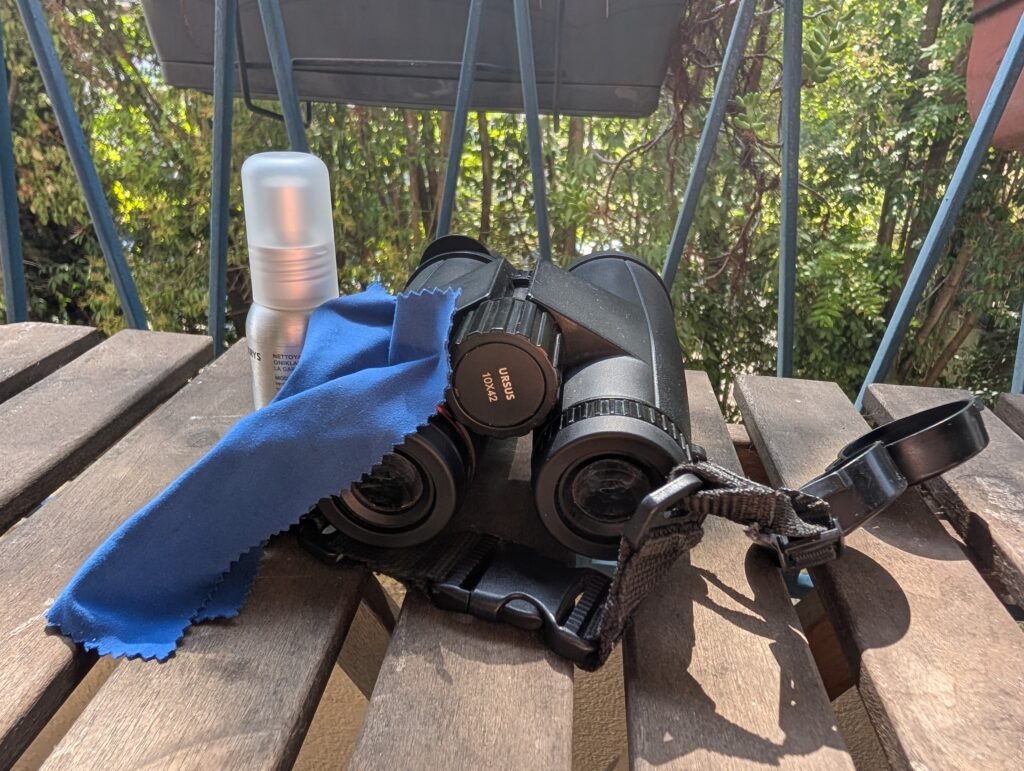
How to Clean Your Binoculars Properly
Now that we know which mistakes to avoid, let’s look at how to clean your binocular lenses correctly.
You’ll see that there’s nothing particularly complicated about it. The most important thing isn’t having lots of accessories, but always following the right order.
Step 1: Never Rub Immediately
This is probably the most important rule in this entire article. As we’ve seen, it’s better not to clean your binoculars at all than to clean them under the wrong conditions. A fingerprint or a few drops of water won’t damage your optics. Improper cleaning, on the other hand, can leave irreversible micro-scratches.
If you’re in the middle of a birding trip and don’t have the necessary equipment, it’s better to wait until you get home and perform a proper cleaning. At home, the conditions are generally much better: you have a clean environment, good lighting, and, most importantly, enough time to clean your binoculars carefully.
You’ll also be able to check that the lenses are genuinely clean and work with much greater precision.
Step 2: Remove Any Particles
Before even thinking about wiping a lens, always assume that it’s covered in dust, even if you can’t see it with the naked eye. Ideally, use a small air blower. A few puffs will remove most dust particles without ever coming into contact with the glass.
If you don’t have one, you can gently blow towards the lens while keeping your mouth a few centimetres away to avoid depositing moisture or tiny droplets of saliva on it. The goal of this step is simple: remove as many particles as possible before making any contact with the lens.
Step 3: Clean Only When Necessary
Once all the dust has been removed, inspect the lens under good lighting. If there are no fingerprints, oily marks, or visible deposits, it’s often best not to do anything else. Contrary to what you might think, a lens doesn’t need to be cleaned after every outing.
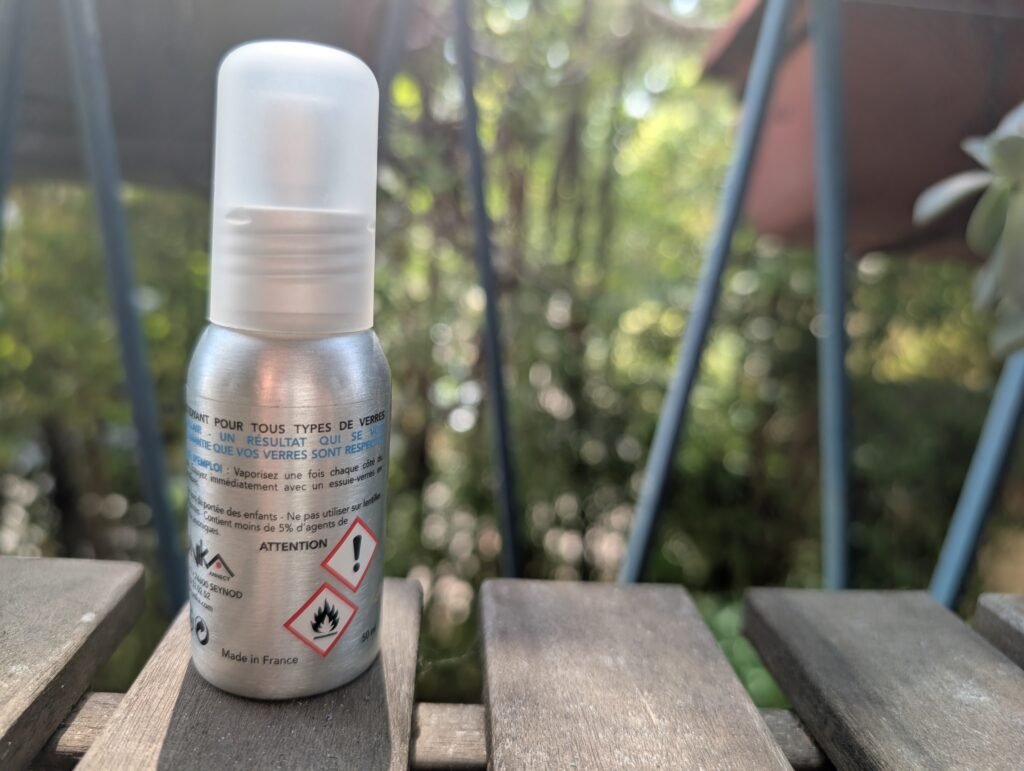
However, if marks remain, use a perfectly clean microfiber cloth together with a cleaning solution specifically designed for optics. Apply a few drops of the solution to the cloth, not directly onto the lens, and gently clean the surface using circular motions without applying excessive pressure. There’s no need to press hard. If a mark doesn’t come off, it’s usually better to repeat the process rather than rub harder. And don’t forget to wash your microfiber cloths regularly!
Special Situations
Depending on where you go birdwatching, the precautions you need to take may vary slightly.
- In rain or drizzle: Moisture is rarely a problem for good-quality binoculars, but it can quickly leave marks on the lenses. When you’re not using them, keep the lens caps on whenever possible. If the optics are simply wet, let them dry or use a clean microfiber cloth after removing any dust particles.
- By the sea: Sea spray leaves a thin layer of salt on the lenses. It can leave marks and become slightly abrasive when dry. Avoid cleaning your optics while they’re covered in sand or salt. Also, be especially careful never to place your binoculars directly on the sand.
- In dusty environments: Dry tracks, busy trails, or vehicles kicking up dust are among the worst enemies of your lenses. Take extra care and avoid rubbing the optics before removing any particles.
- In dense vegetation: Pollen can quickly build up on your optics. Remember to put the lens caps back on whenever you put your binoculars away, even if it’s only for a few minutes.
What Equipment Should You Buy?
Contrary to what you might think, you don’t need to invest in a huge range of accessories to take proper care of your binoculars. A few simple tools are more than enough.
Un chiffon microfibre
If there’s one accessory I recommend always carrying with you, it’s a microfiber cloth.
I always take one with me on my birdwatching trips. It takes up virtually no space in a bag and can quickly remove a fingerprint or a few drops of water when the conditions are right. Ideally, keep it in a small dedicated pouch or in its original packaging.
There’s no need to spend a fortune: a good-quality microfiber cloth designed for optical equipment will do the job perfectly, and they’re easy to find almost anywhere.

Pack of 6 Microfiber Eyeglass Cleaning Cloths
HIGH-QUALITY MICROFIBER CLOTHS – Made from tightly woven, high-quality microfiber material that attracts fine dust, making them ideal for cleaning delicate electronic devices.
An Air Blower, Lens Brush, and Cleaning Solution
At home, I also use a small air blower, a lens brush, and cleaning fluid when the lenses genuinely need it.
However, I almost never take these accessories into the field. They take up more space and are rarely essential during a birdwatching outing—unless you know you’ll be visiting a particularly dusty or sandy environment.

ZEISS Lens Cleaning Kit
A little care is all it takes to enjoy your optics for many years to come.
Should You Buy a Cleaning Kit?
If you don’t own any cleaning accessories yet, the easiest option is to buy an optical cleaning kit. These usually include an air blower, a brush, cleaning solution, and a microfiber cloth.
Major brands such as Swarovski offer their own cleaning kits, often sold for around $80. They’re very good quality, but I’m not convinced they offer any real advantage over more conventional kits.
For most users, a complete kit costing between $30 and $40 will be more than enough and should allow you to keep your binoculars in excellent condition for many years.

K&F CONCEPT 10-in-1 Cleaning Kit
Professional Camera Cleaning Kit: cleaning pen + air blower + cleaning solution + 4 microfiber cleaning cloths.

Pingback: The Complete Setup For Birdwatching While Travelling - Birdalia